How to Install and Activate Microsoft Excel 2024 for MacUpdated 3 months ago
1. Go to setup.office.com and click "Get started".

2. Sign in with your Microsoft account. If you don't have one, click "Create an account".

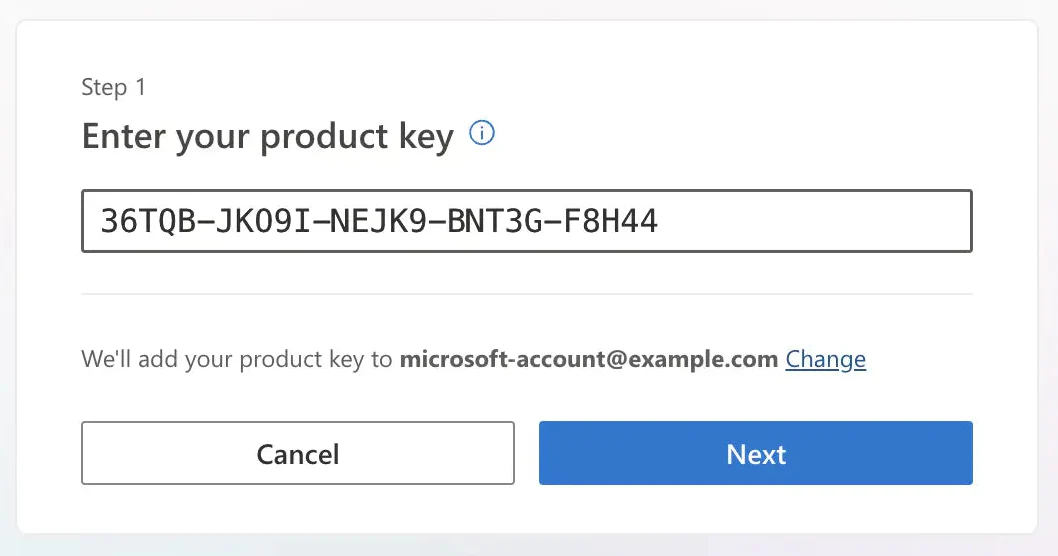
3. Enter your product key (the 25-character code you received by email) and click "Next".
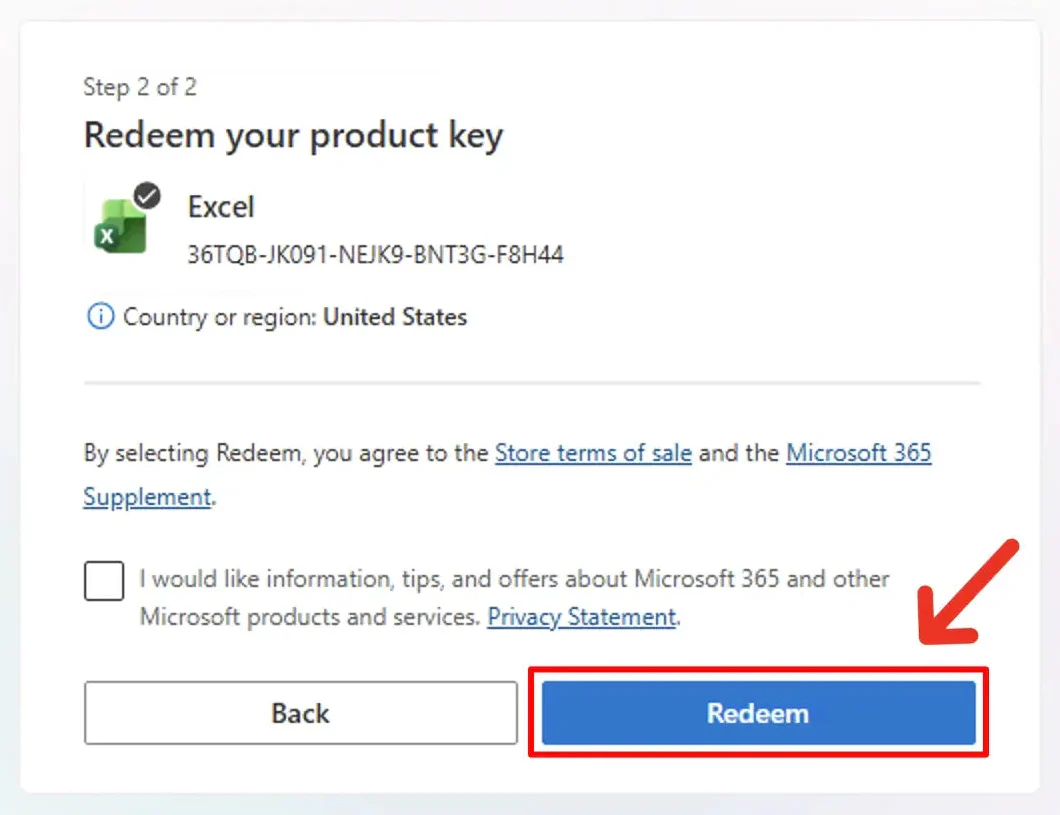
4. Click "Redeem".
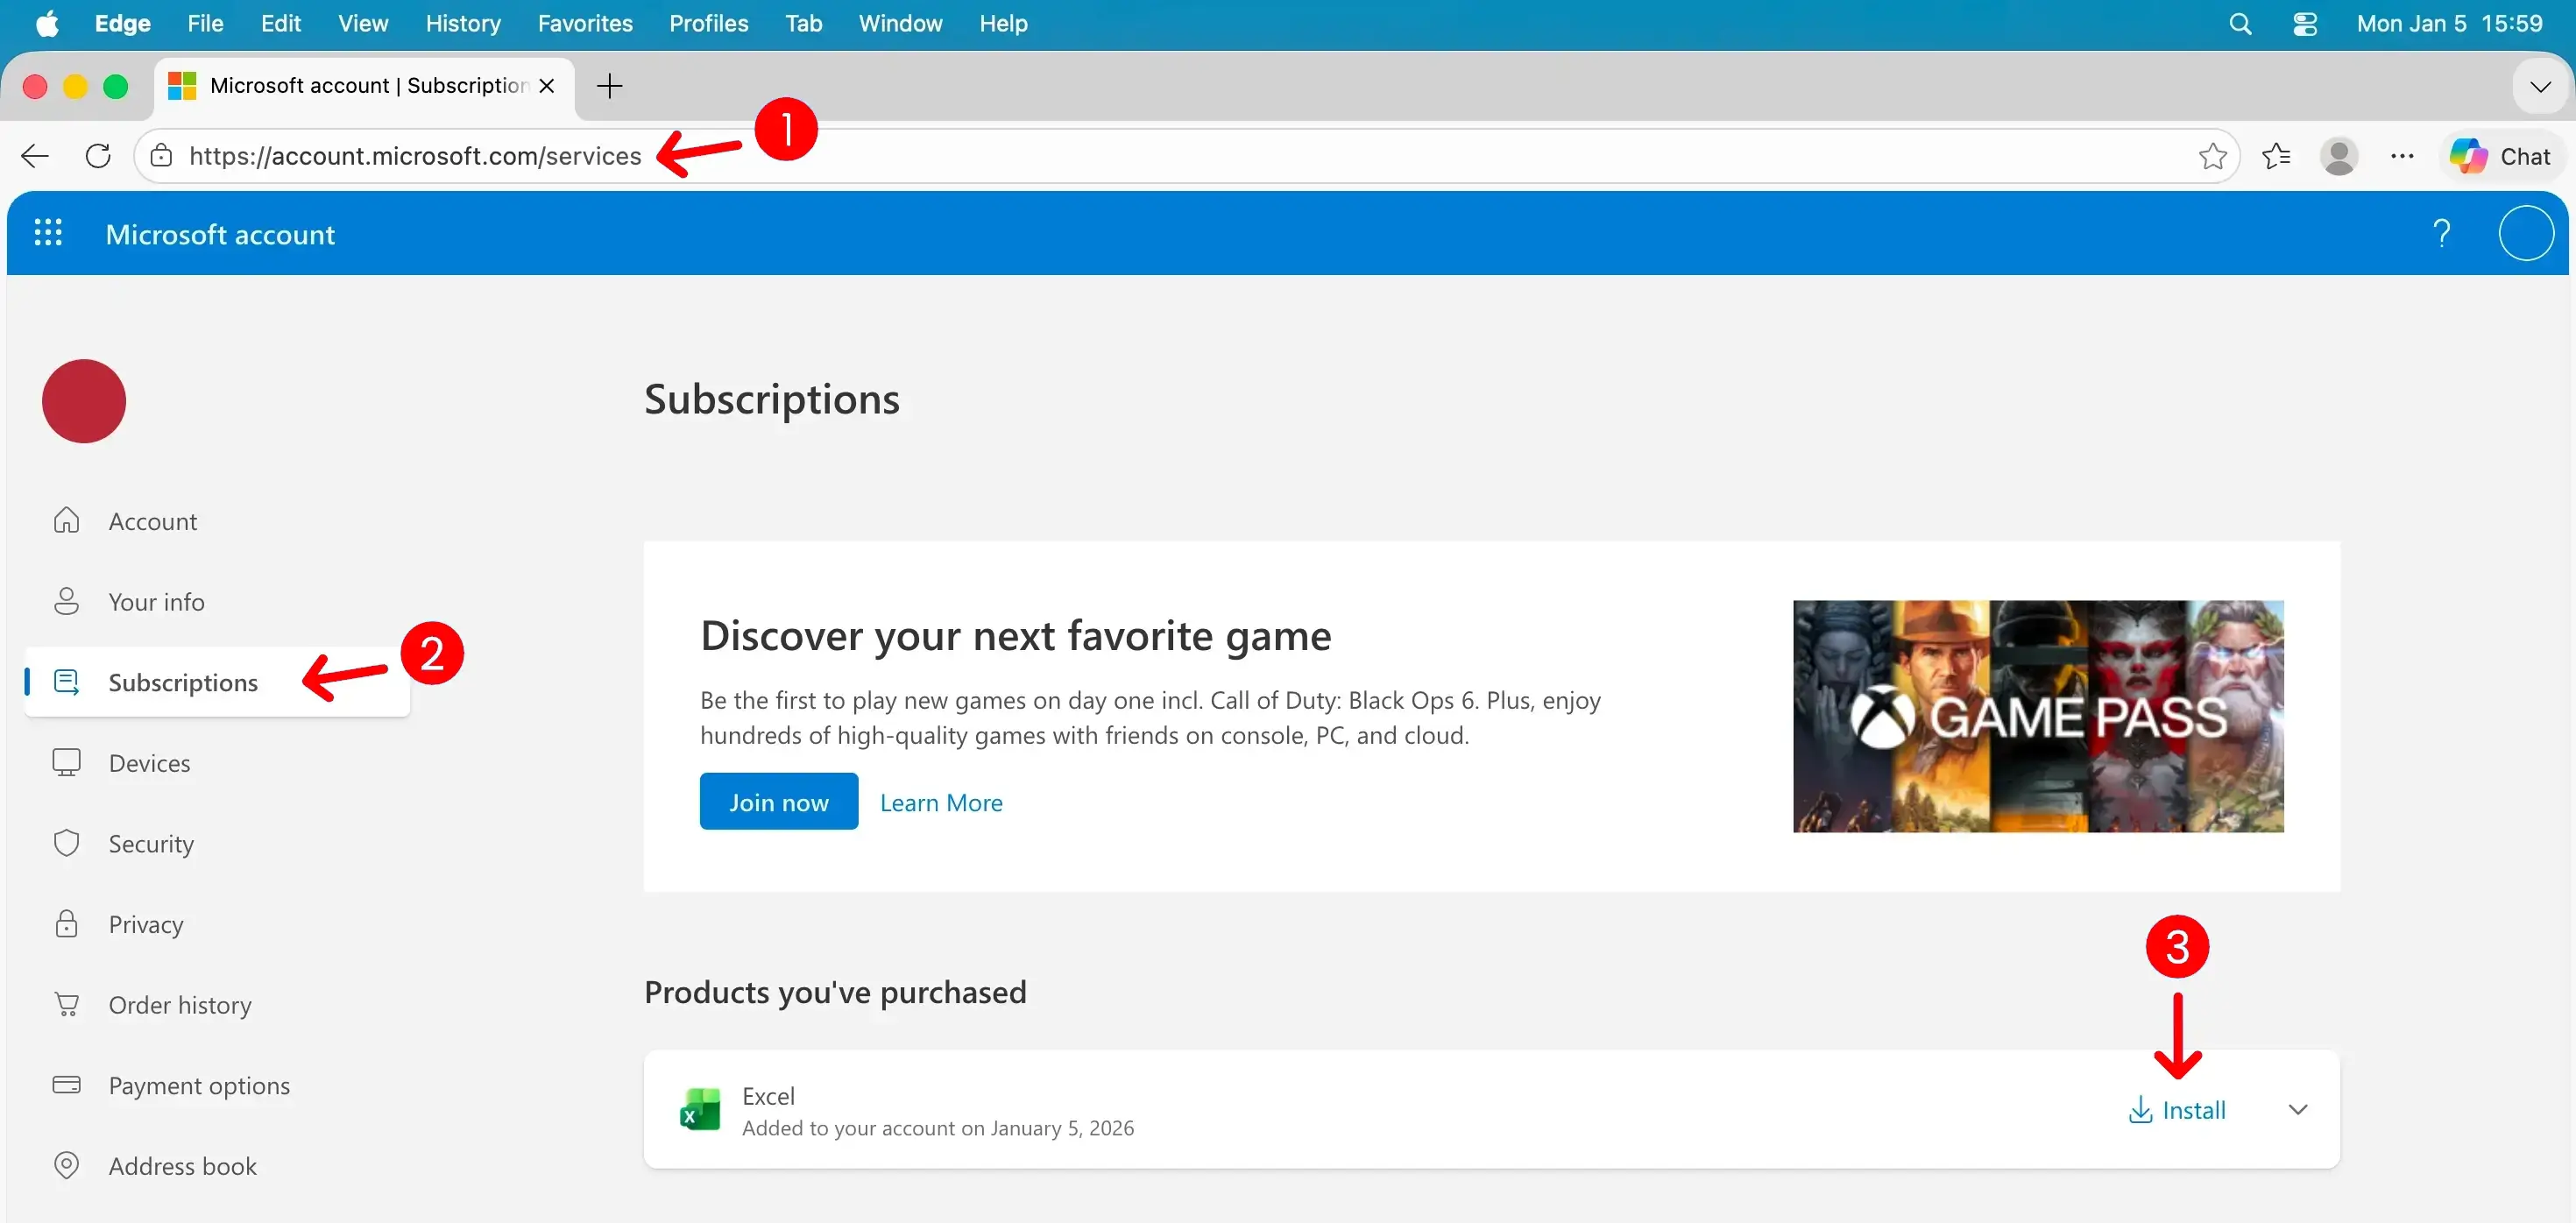
5. Go to account.microsoft.com/services and click "Install" next to Excel.
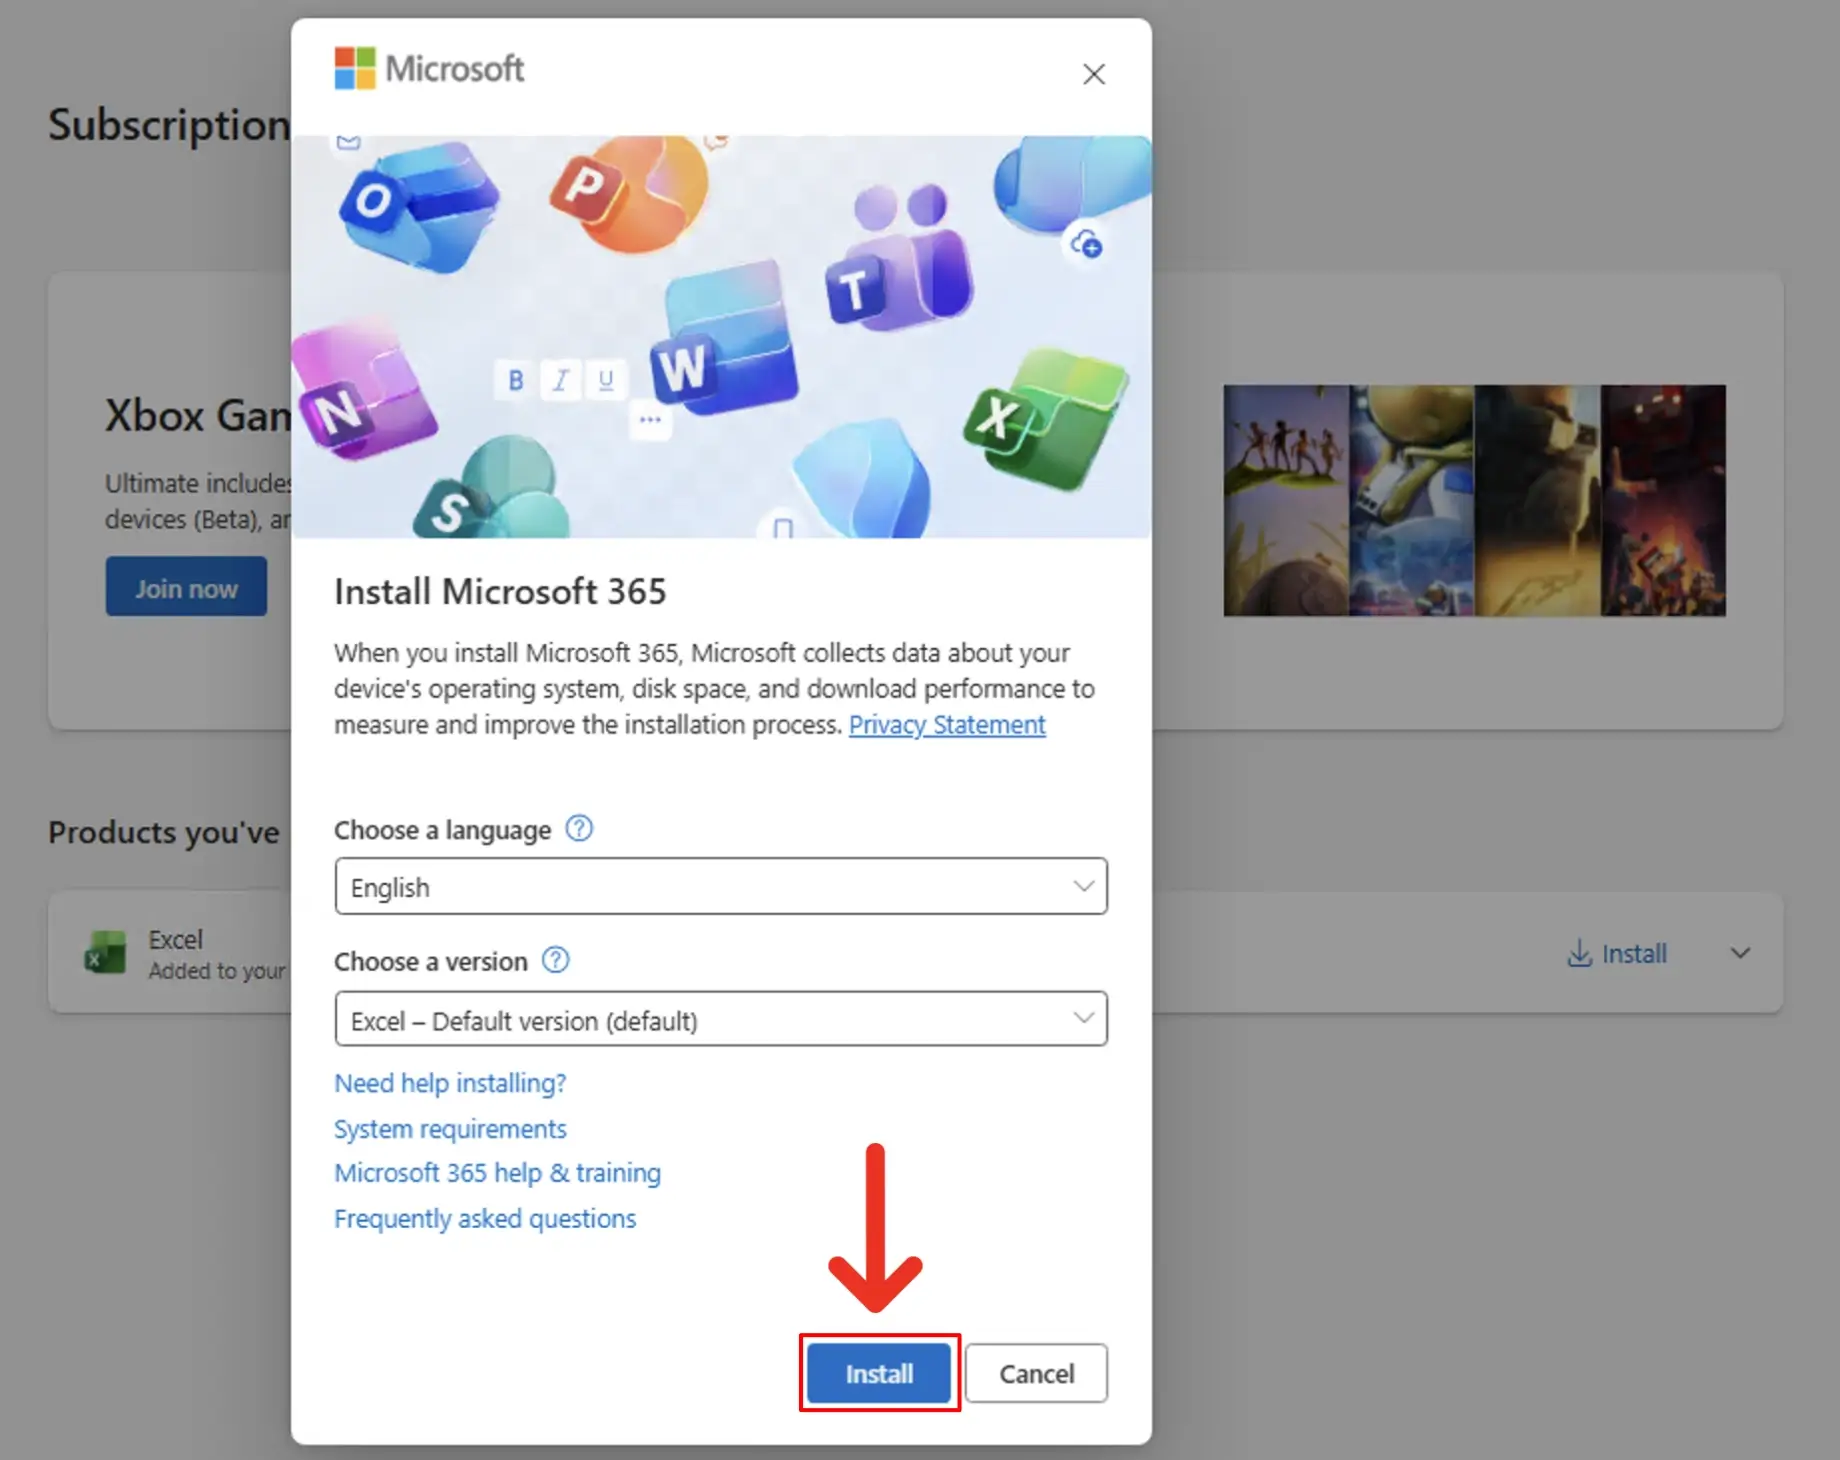
6. A window will pop up. Click "Install" to start downloading Excel.
7. Once the download is complete, open the file (you'll find it in your Downloads folder) and follow the on-screen instructions to install Excel.
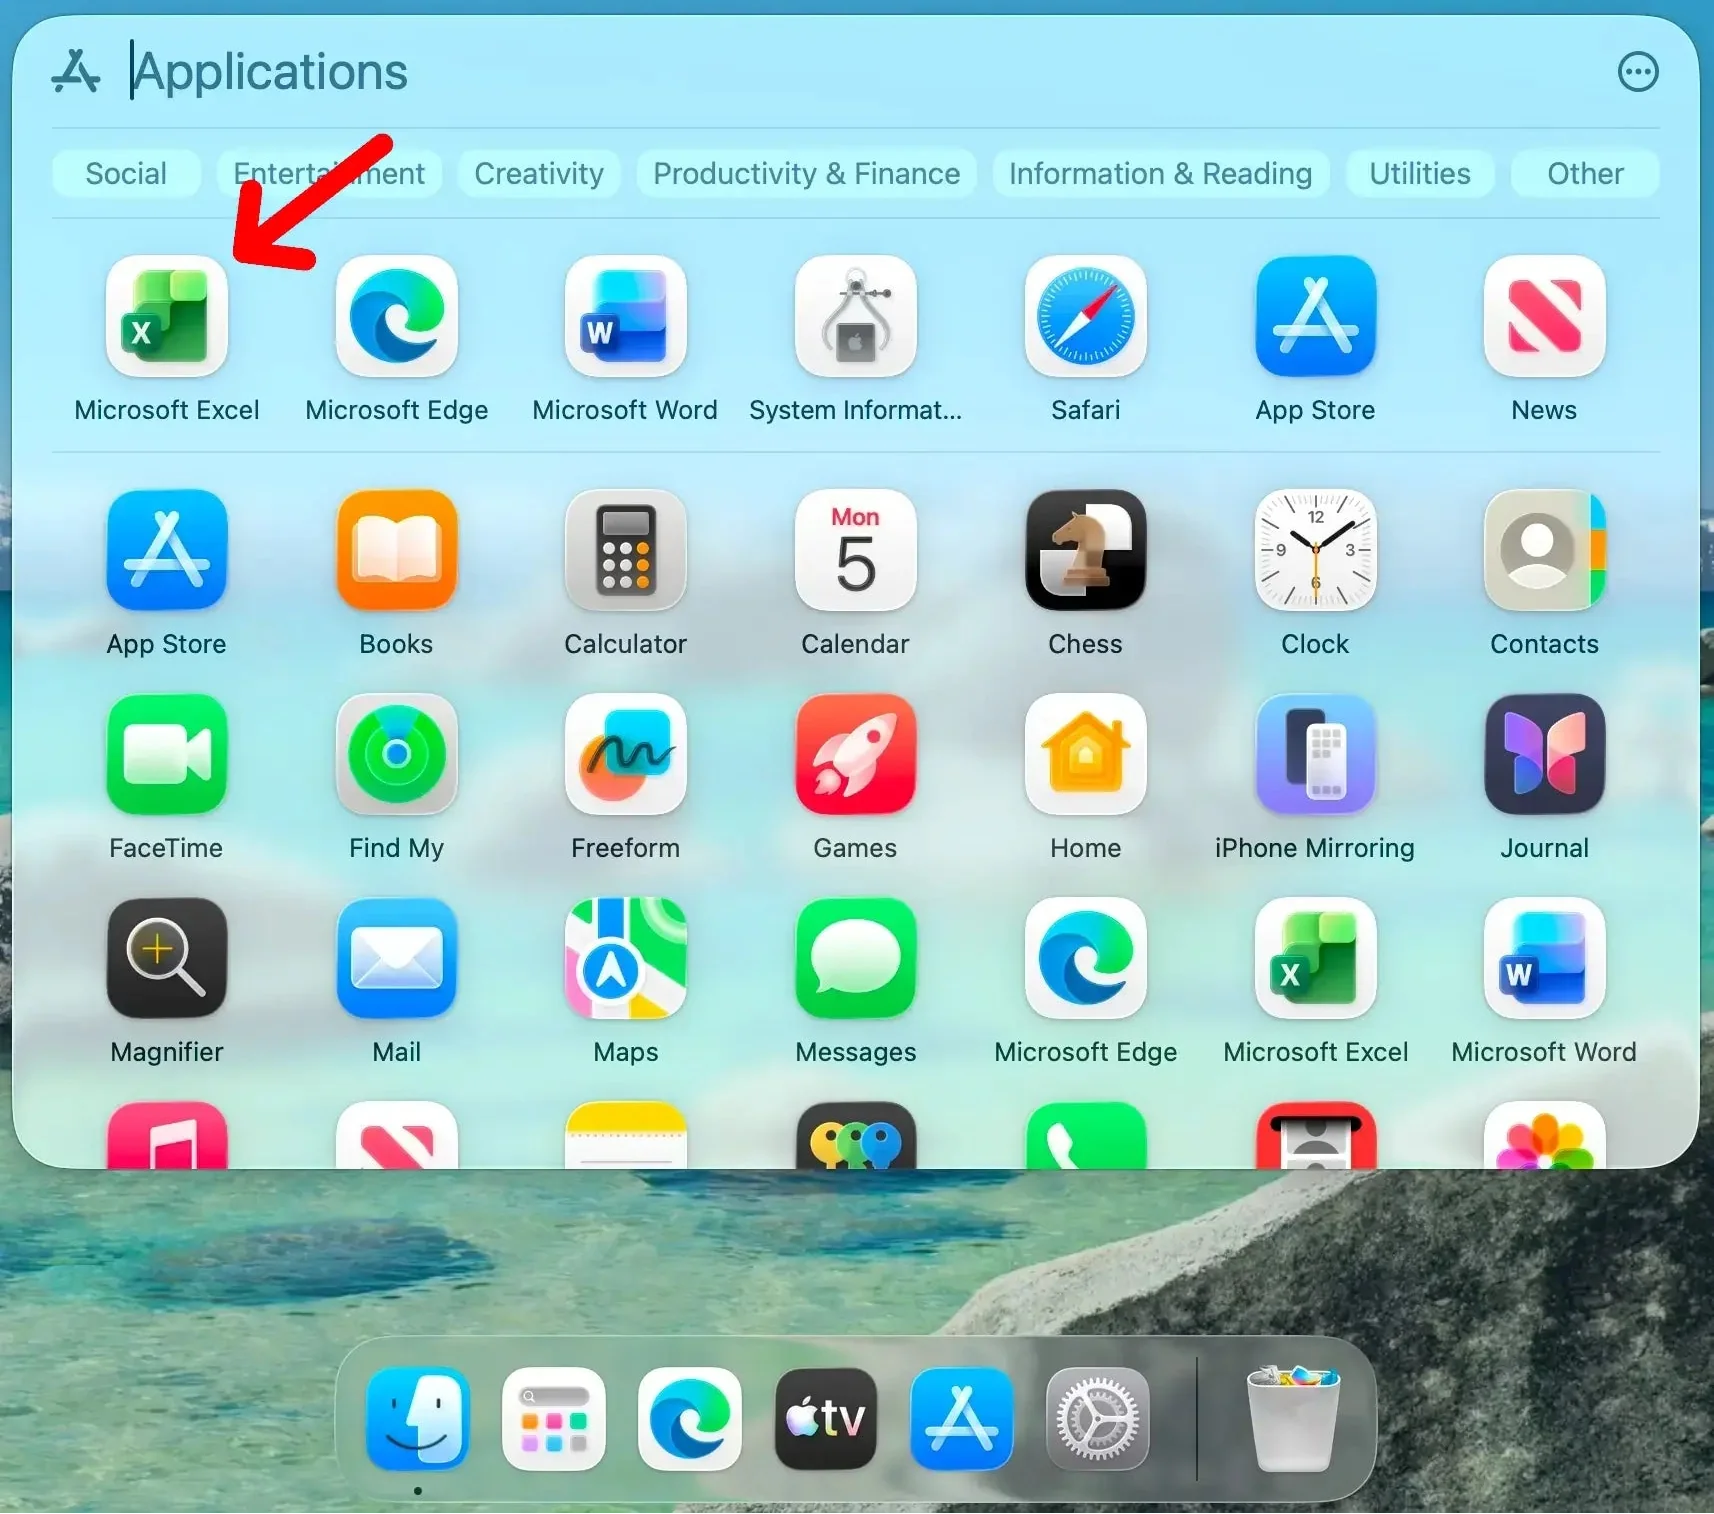
8. Once the installation is finished, open Launchpad and click on Excel.
9. Click "Sign in or create account" and sign in with the same Microsoft account you used in Step 2.

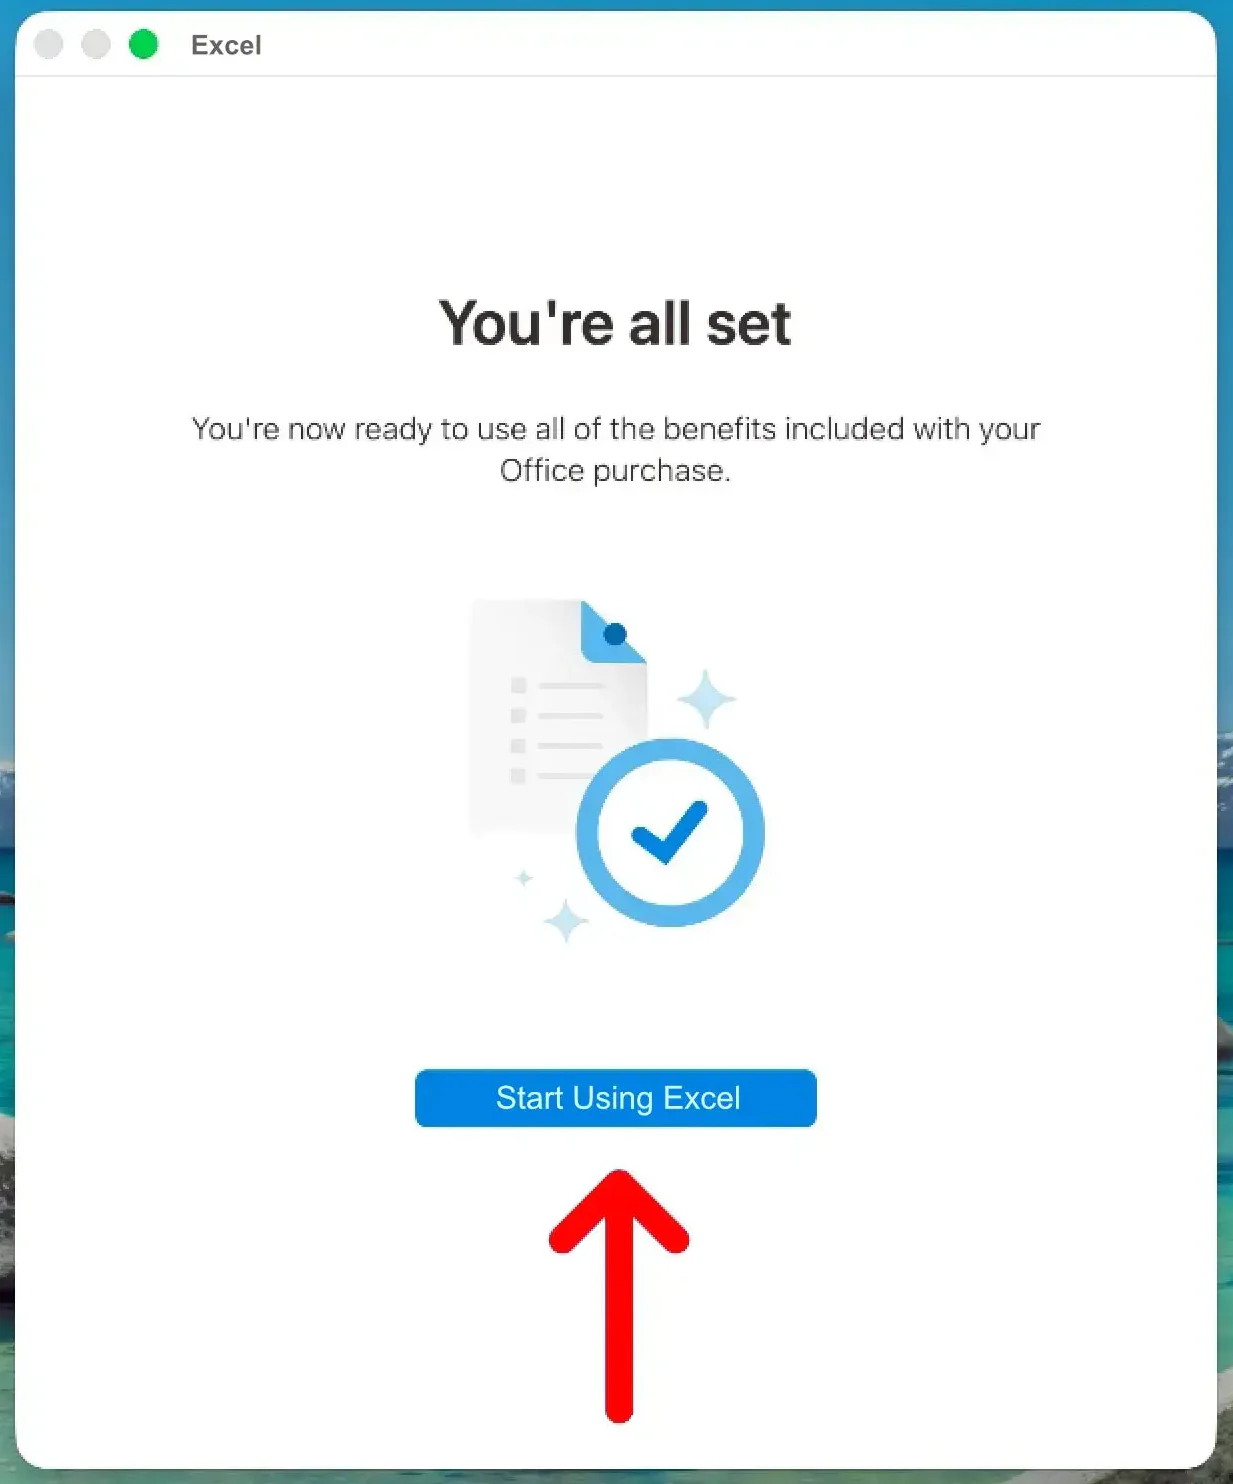
10. Once you see "You're all set", click "Start Using Excel".
Excel is now activated and ready to use on your Mac.
Still need help? Contact us